


Preparing visuals and documents for online uploads needs attention to file size, format, and quality. When handled correctly, uploads become faster, cleaner, and compatible with different platforms. Here’s a step-by-step guide to help you get your visuals and files ready for smooth online sharing.
1. Compress Images Before Uploading
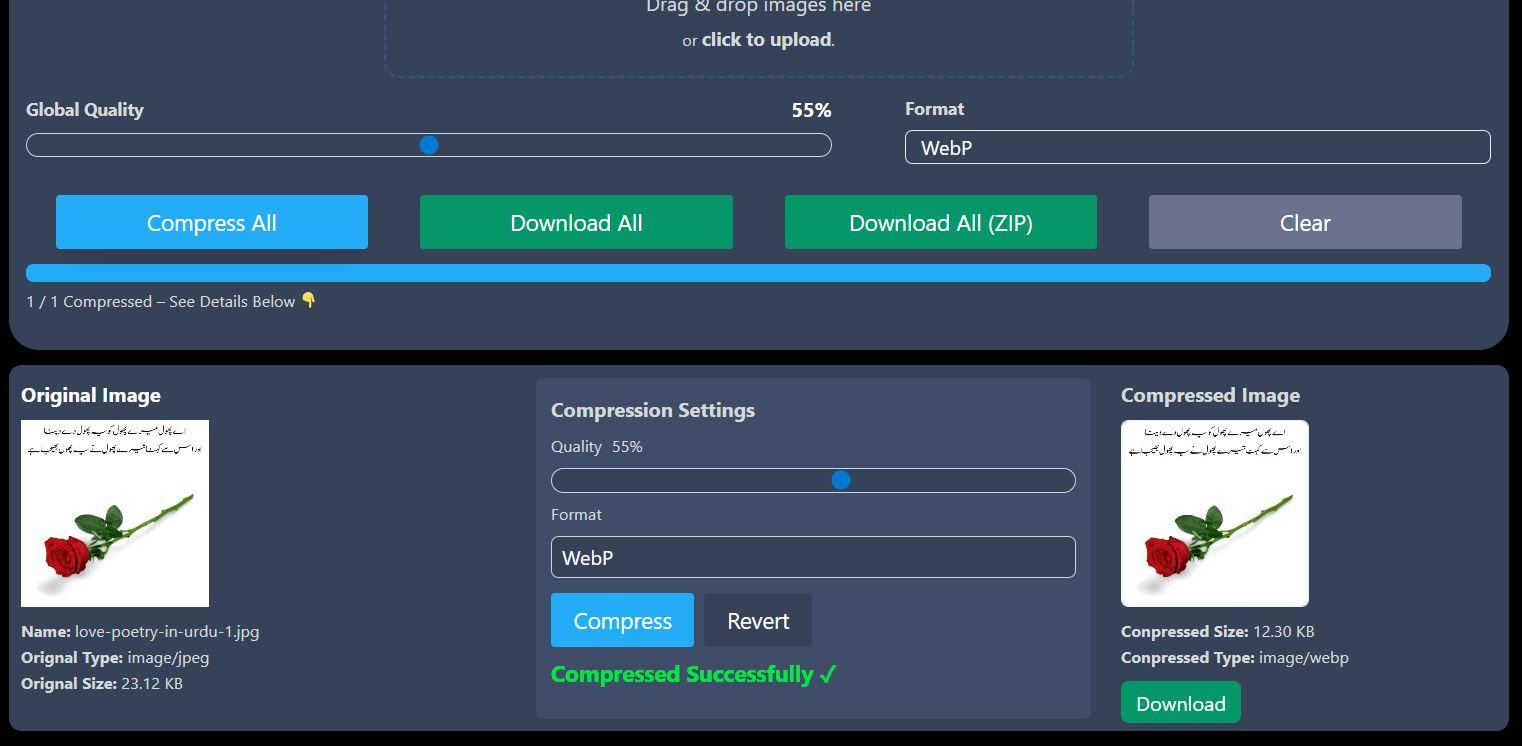
Large image files take longer to upload and can slow down websites. Compressing images helps reduce file size without losing visible quality.
You can use the Online Image Compressor to quickly shrink your photos while keeping them clear. It supports popular formats like JPG, PNG, and WebP.
For users who manage several photos at once, a Bulk Image Compressor can save a lot of time. It allows multiple files to be reduced together, perfect for portfolios, eCommerce listings, or social media uploads.
2. Convert Images to Compatible Formats
Different websites and apps require specific file types. For example, some platforms prefer JPG for speed, while others recommend PNG for better clarity.
Using a Free image converter lets you change image formats easily without installing software. This way, you can match the right format for each upload need.
If you deal with documents that include images or scans, it’s often useful to extract visuals from PDF files. The PDF to JPG Converter makes that simple, turning PDF pages into high-quality images ready for sharing or editing.
3. Resize and Rename Files Properly
Before uploading, adjust image dimensions based on where they will be used. For example, smaller sizes suit thumbnails, while large banners need wider layouts. Keeping consistent dimensions helps your website or presentation look organized.
Rename files with clear, descriptive titles. Instead of “IMG_1234.jpg,” use “product-image-red-shirt.jpg.” Search engines recognize such details, improving SEO and clarity.
4. Check File Quality and Preview Before Upload
Always review your visuals and documents before uploading. Open them on both desktop and mobile screens to confirm clarity and proportion. Avoid blurry or stretched visuals, and keep text readable if included in images.
5. Secure and Fast Uploads
After optimizing and converting files, use a stable internet connection during uploads. Saving backups of your compressed and converted files can prevent data loss if anything interrupts the process.
Final Thoughts
Preparing visuals and documents for online uploads doesn’t need advanced tools. With simple online solutions like Online Image Compressor, Free image converter, Bulk Image Compressor, and PDF to JPG Converter, anyone can manage files effectively and save valuable time.
Your visuals look better, your uploads work faster, and your digital projects feel more professional — all with a few simple steps.