


If you own a Janome embroidery machine, you know how powerful the Janome Digitizer software can be—but are you using it to its full potential? Whether you're a beginner or an experienced digitizer, mastering this software can take your embroidery projects from good to professional-grade.
In this guide, we’ll share proven tips and tricks to help you get the best results from your Janome Embroidery Digitizer, avoid common mistakes, and create stunning custom designs with ease.
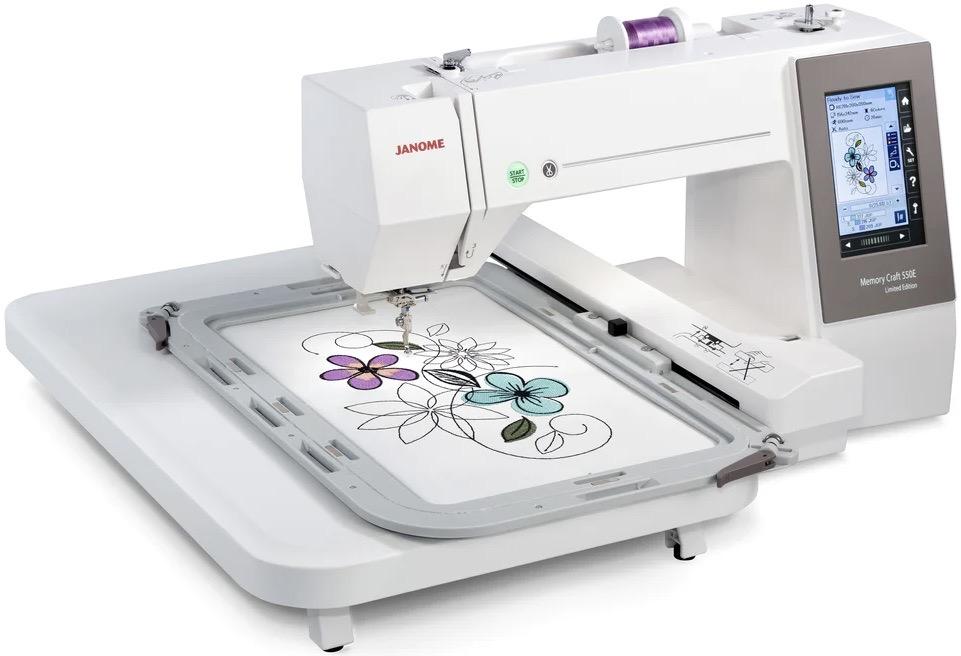
What is Janome Digitizer?
Janome Digitizer is an embroidery design software that lets you:
✔ Convert artwork (JPEG, PNG, SVG) into stitch files
✔ Edit existing embroidery designs
✔ Customize stitch types, densities, and colors
✔ Save files in formats like .JEF (Janome’s native format)
It’s designed specifically for Janome embroidery machines, ensuring seamless compatibility.
Top Tips for Mastering Janome Digitizer
1. Start with High-Quality Artwork
Garbage in = garbage out. For clean digitizing:
✅ Use vector files (SVG, AI, EPS) when possible
✅ If using raster images (JPEG/PNG), ensure high resolution (300+ DPI)
✅ Simplify complex logos—remove tiny details that won’t stitch well
Pro Tip: Use the "Trace" tool in Janome Digitizer to auto-convert artwork into stitchable outlines.
2. Understand Stitch Types & When to Use Them
Janome Digitizer offers multiple stitch types—pick the right one for each element:
Stitch Type | Best For | Tips |
| Satin Stitch | Borders, text, outlines | Keep width under 8mm to prevent gaps |
| Fill Stitch | Large solid areas | Adjust density based on fabric (lower for stretchy materials) |
| Running Stitch | Fine details, underlay | Use for delicate lines (less thread buildup) |
| Cross Stitch | Decorative effects | Great for textured designs |
3. Optimize Stitch Density
Too dense = stiff fabric. Too light = gaps.
✔ Light fabrics (silk, thin cotton): 0.35-0.45mm density
✔ Medium fabrics (polyester, twill): 0.4-0.5mm density
✔ Heavy fabrics (denim, canvas): 0.5-0.6mm density
Quick Fix: Use the "Density Map" tool to visualize problem areas.
4. Don’t Skip Underlay Stitches
Underlay stabilizes fabric and prevents puckering.
✔ Center Run: Best for text and thin lines
✔ Zigzag: Good for fill areas
✔ Edge Walk: Reduces fabric show-through on satin stitches
Rule of Thumb: Always add underlay—Janome Digitizer lets you customize it per section.
5. Use Pull Compensation
Embroidery threads pull fabric inward, distorting shapes.
✔ Add 0.2-0.5mm pull compensation to circles and curves
✔ Test stitch and adjust as needed
Pro Tip: For small text, increase pull compensation slightly to prevent letters from merging.
6. Test Stitch on Scrap Fabric First
Before stitching your final project:
- Hoop similar fabric to your final material
- Check for:
- Thread breaks
- Fabric puckering
- Gaps or misaligned stitches
Save Time & Money: A 5-minute test prevents wasted materials!
7. Organize Your Thread Colors
Janome Digitizer lets you assign thread brands/numbers.
✔ Use Janome’s color chart for accuracy
✔ Label colors clearly (avoid confusion mid-project)
✔ Save custom color palettes for frequent designs
Bonus: Some Janome machines auto-suggest thread colors when loading designs!
8. Edit Existing Designs Like a Pro
Found a design you love but want to tweak?
✔ Resize carefully (avoid distortion—stay within 10-15% of original size)
✔ Change stitch angles for visual interest (e.g., diagonal fills instead of horizontal)
✔ Merge/split elements for customization
Warning: Avoid over-editing purchased designs (check licensing rules).
9. Save in Multiple Formats
While .JEF is Janome’s native format, also save:
✔ .DST (universal format for backups)
✔ .EXP (for Bernina/Brother machines if sharing)
Never lose work: Enable "Auto-Save" in settings!
10. Learn Keyboard Shortcuts
Speed up your workflow with these must-know Janome Digitizer shortcuts:
- Ctrl + C / Ctrl + V – Copy/paste elements
- Ctrl + Z – Undo mistakes
- Ctrl + Mouse Wheel – Zoom in/out quickly
- Spacebar – Toggle between selection tools
Common Janome Digitizer Mistakes (And How to Fix Them)
❌ Mistake: Ignoring fabric type → Stitches pucker or gap.
✅ Fix: Always adjust density/pull comp for your material.
❌ Mistake: Overlapping stitches → Thread buildup/breaks.
✅ Fix: Use "Trim After Stitch" option in settings.
❌ Mistake: Tiny text/details → Unreadable stitching.
✅ Fix: Keep text at least 5mm tall (0.2 inches).
❌ Mistake: Skipping test stitches → Wasted time/fabric.
✅ Fix: Always test—even on simple designs!
Advanced Janome Digitizer Techniques
1. Creating 3D Puff Effects
- Digitize your design normally
- Add extra underlay (foam or mesh) before stitching
- Increase stitch density slightly to compress the foam
Perfect for: Hats, logos, and bold lettering.
2. Appliqué Made Easy
- Outline your shape with a running stitch
- Place fabric piece over the outline
- Add a zigzag or satin stitch border to secure
Pro Tip: Use Janome’s "Appliqué Wizard" for guided steps.
3. Gradient Color Blending
For smooth color transitions:
- Overlap fill areas slightly
- Use shorter stitch lengths where colors meet
- Choose thread colors with subtle contrast
Where to Find Janome Digitizer Tutorials
- Janome’s Official YouTube Channel (Free step-by-step videos)
- Embroidery Legacy Courses (In-depth paid training)
- Facebook Groups (Janome Embroidery Enthusiasts)
Final Thoughts: Elevate Your Embroidery Game
Janome Digitizer is a powerful tool—but like any software, you get out what you put in. By following these tips, you’ll:
✔ Save time with efficient workflows
✔ Reduce errors and wasted materials
✔ Create professional-quality custom designs
Ready to digitize like a pro? Fire up Janome Digitizer and start experimenting today!
Have questions? Drop them in the comments—we’re happy to help! 🚀🧵