


Prototyping is a critical step in IoT Hardware Development. It translates a concept into a tangible device that interacts with the physical world. According to Statista, the number of connected IoT devices globally reached 15.14 billion in 2023 and is expected to grow to over 29 billion by 2030. A McKinsey report shows IoT-enabled applications can reduce maintenance costs by up to 30% in industrial environments.
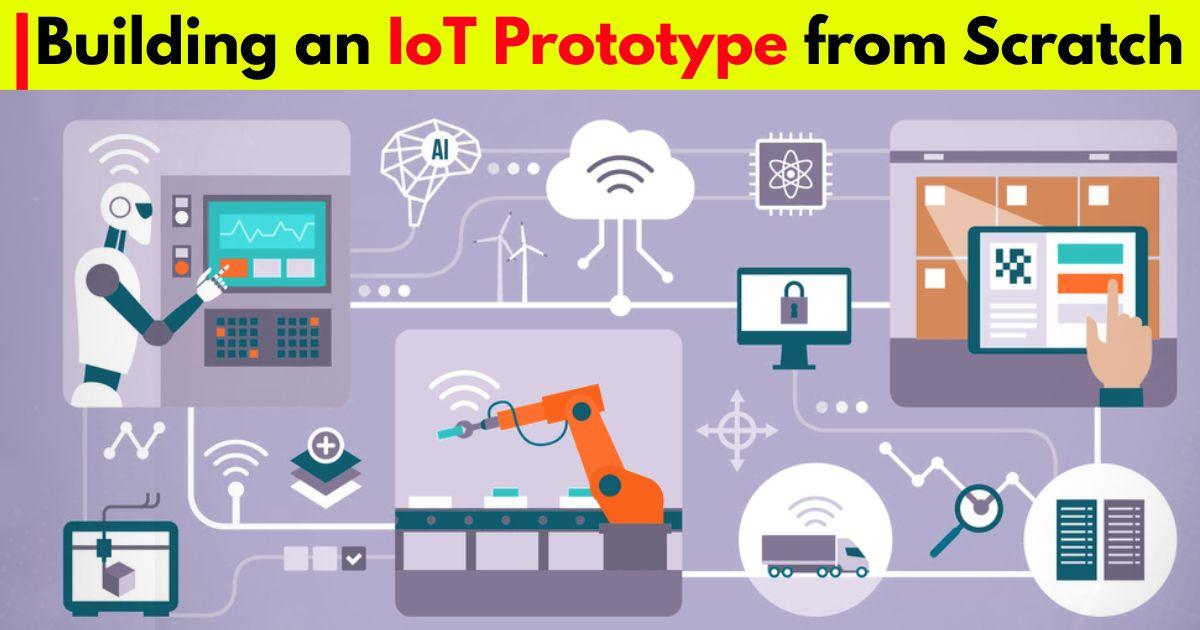
Creating an IoT prototype from scratch demands careful planning, hardware selection, and integration of sensors, connectivity, and firmware. This article explores a complete step-by-step approach to building an IoT prototype.
Step 1: Define the Problem and Purpose
Every project begins with identifying the problem the IoT device will solve. Clearly defining this sets the foundation for all technical decisions.
Questions to Ask:
-
What is the core function of the device?
-
Who will use the device, and in what environment?
-
What type of data will it collect or monitor?
-
Will the device operate indoors or outdoors?
Example: A soil moisture monitoring device for farms needs different hardware than a fitness tracker.
Step 2: Select the Right Sensors and Actuators
Sensor and actuator choices directly affect accuracy, energy efficiency, and cost.
Common Sensors Used:
-
Temperature and humidity: DHT11, DHT22
-
Motion: PIR, accelerometers
-
Light: LDR, TSL2561
-
Gas and air quality: MQ series
-
Soil moisture: Capacitive soil sensor
Actuators (if needed):
-
Motors
-
Relays
-
LEDs
-
Buzzers
Match the sensor specifications to your application. For example, DHT22 offers higher accuracy than DHT11 but consumes more power.
Step 3: Choose a Microcontroller or Microprocessor
This is the brain of your IoT device. Your selection depends on the complexity, connectivity, and power requirements.
Microcontroller Options:
| Microcontroller | Features | Best For |
| Arduino Uno | Easy to use, beginner-friendly | Basic prototypes |
| ESP32 | Wi-Fi + Bluetooth, dual-core | Wireless, medium-complexity devices |
| STM32 | Industrial-grade, low power | Robust industrial use |
Tip: If your device needs Wi-Fi or BLE, use ESP32 or nRF52 series.
Step 4: Select Connectivity Options
Reliable communication is essential in IoT Hardware Development. Choose based on range, data rate, and energy consumption.
Connectivity Technologies:
-
Wi-Fi: Fast data, high power usage; ideal for smart homes
-
Bluetooth Low Energy (BLE): Short range, low energy; suitable for wearables
-
LoRa: Long-range, low bandwidth; ideal for rural deployments
-
NB-IoT: Cellular-based, good for remote infrastructure
Example: A smart water meter in a city can use NB-IoT for direct carrier communication.
Step 5: Design the Circuit and PCB
Prototyping on breadboards is acceptable early on, but PCBs are needed for stability and scalability.
Tools:
-
Breadboard: For initial testing
-
Fritzing: Beginner-friendly circuit design
-
KiCad / Eagle / Altium: Advanced PCB design
Design Tips:
-
Keep traces short and separate power lines from data lines
-
Add decoupling capacitors near ICs
-
Place test points for debugging
Step 6: Power Management
Efficient power design extends the device's lifespan, especially for remote and battery-powered systems.
Considerations:
-
Battery types: Li-ion, coin cell, AA, or solar panels
-
Sleep modes: Most MCUs support deep sleep to reduce power
-
Voltage regulators: Use LDOs or buck converters for stability
Example: An IoT device deployed in agriculture might use a solar panel and battery to function independently.
Step 7: Write and Upload Firmware
Firmware defines how the device processes data and communicates with the network.
Programming Environments:
-
Arduino IDE: Great for beginners and small projects
-
PlatformIO: For professional use with version control
-
STM32CubeIDE: For STM32 MCUs
Key Functions:
-
Sensor data reading
-
Actuator control
-
Data formatting (e.g., JSON)
-
Communication (via MQTT, HTTP, etc.)
Keep the code modular. Use interrupt-based programming to improve power efficiency.
Step 8: Connect to a Cloud Platform
Cloud services store and visualize collected data. Some also offer real-time analytics.
Popular IoT Platforms:
| Platform | Features | Suitable For |
| ThingsBoard | Open-source, dashboard-ready | Hobby & Industrial use |
| AWS IoT Core | High scalability, enterprise features | Commercial deployments |
| Blynk | Easy mobile dashboards | Prototyping and demos |
Example: Use MQTT to send temperature data from ESP32 to AWS IoT Core.
Step 9: Build the Enclosure
Enclosures protect the electronics and make the product presentable.
Materials:
-
3D-printed plastic: Ideal for custom shapes
-
Acrylic or metal: Durable and weather-resistant
Ensure space for heat dissipation, antennas, and sensor exposure.
Step 10: Testing and Validation
Before scaling or production, ensure the prototype performs under real-world conditions.
Testing Includes:
-
Sensor accuracy testing
-
Connectivity and signal range
-
Battery performance
-
Data consistency across cloud and device
-
Environmental durability (heat, moisture)
Use tools like multimeters, oscilloscopes, and logic analyzers for precision debugging.
Real-World Example: Smart Air Quality Monitor
Objective:
To create a compact device that measures indoor air quality and reports to a mobile app.
Components Used:
-
ESP32 (Wi-Fi + BLE)
-
MQ-135 air quality sensor
-
OLED display
-
Li-ion battery + charging circuit
Features:
-
Sends real-time air quality index via MQTT to ThingsBoard
-
OLED displays current levels
-
Deep sleep enabled for power efficiency
Result: The prototype ran for over 24 hours on a single charge and gave consistent readings.
Table: Summary of Steps and Key Tools
| Step | Activity | Tools/Components |
| 1 | Define problem | Whiteboard, user research |
| 2 | Select sensors | Datasheets, online reviews |
| 3 | Pick MCU | Arduino, ESP32, STM32 |
| 4 | Choose connectivity | Wi-Fi, LoRa, NB-IoT |
| 5 | Circuit design | Fritzing, KiCad, breadboards |
| 6 | Power setup | Batteries, regulators |
| 7 | Firmware writing | Arduino IDE, PlatformIO |
| 8 | Cloud integration | AWS, Blynk, ThingsBoard |
| 9 | Build enclosure | 3D printer, CAD tools |
| 10 | Testing | Multimeter, oscilloscope |
Conclusion
Prototyping an IoT device from scratch combines electronics, embedded programming, cloud platforms, and mechanical design. It requires structured planning and technical depth across hardware and software.
Whether you're building a proof-of-concept or the first version of a commercial product, following this process ensures your IoT Hardware Development is reliable, scalable, and ready for field use.
With IoT continuing to expand into every industry, mastering rapid and efficient prototyping is no longer optional—it's essential.
Frequently Asked Questions (FAQs)
1. What is IoT Hardware Development?
IoT Hardware Development involves designing, building, and testing physical devices that connect to the internet. These devices use sensors, microcontrollers, and communication modules to collect and transmit data.
2. How do I choose the right microcontroller for my IoT device?
Choose based on power consumption, processing power, connectivity, and application needs. For example, use ESP32 for Wi-Fi/BLE projects or STM32 for industrial-grade devices.
3. What are the essential components required for an IoT prototype?
Key components include sensors, actuators (if needed), a microcontroller, power source, communication module (Wi-Fi, BLE, etc.), and optionally a cloud platform for data storage.
4. How long does it take to build a basic IoT prototype?
A basic prototype typically takes 1–3 weeks, depending on complexity, component availability, and development experience.
5. Can I test my IoT device without a custom PCB?
Yes, initial tests can be done using a breadboard and jumper wires. However, a custom PCB is needed for durability and scalability.