Installing cabinet handles may look simple, but it’s one of those finishing touches that can make or break your kitchen’s overall look. Perfect alignment and placement turn ordinary cabinetry into something that feels balanced and well-crafted. Here’s a quick, professional approach to getting it right.
Start with the basics—good tools. You’ll need a measuring tape, pencil, level, drill, and the correct bit size (usually 3/16-inch or 5mm). Painter’s tape is handy to protect the surface while drilling, and a cabinet hardware jig can help you align every hole precisely, especially when you’re working with multiple doors and drawers.
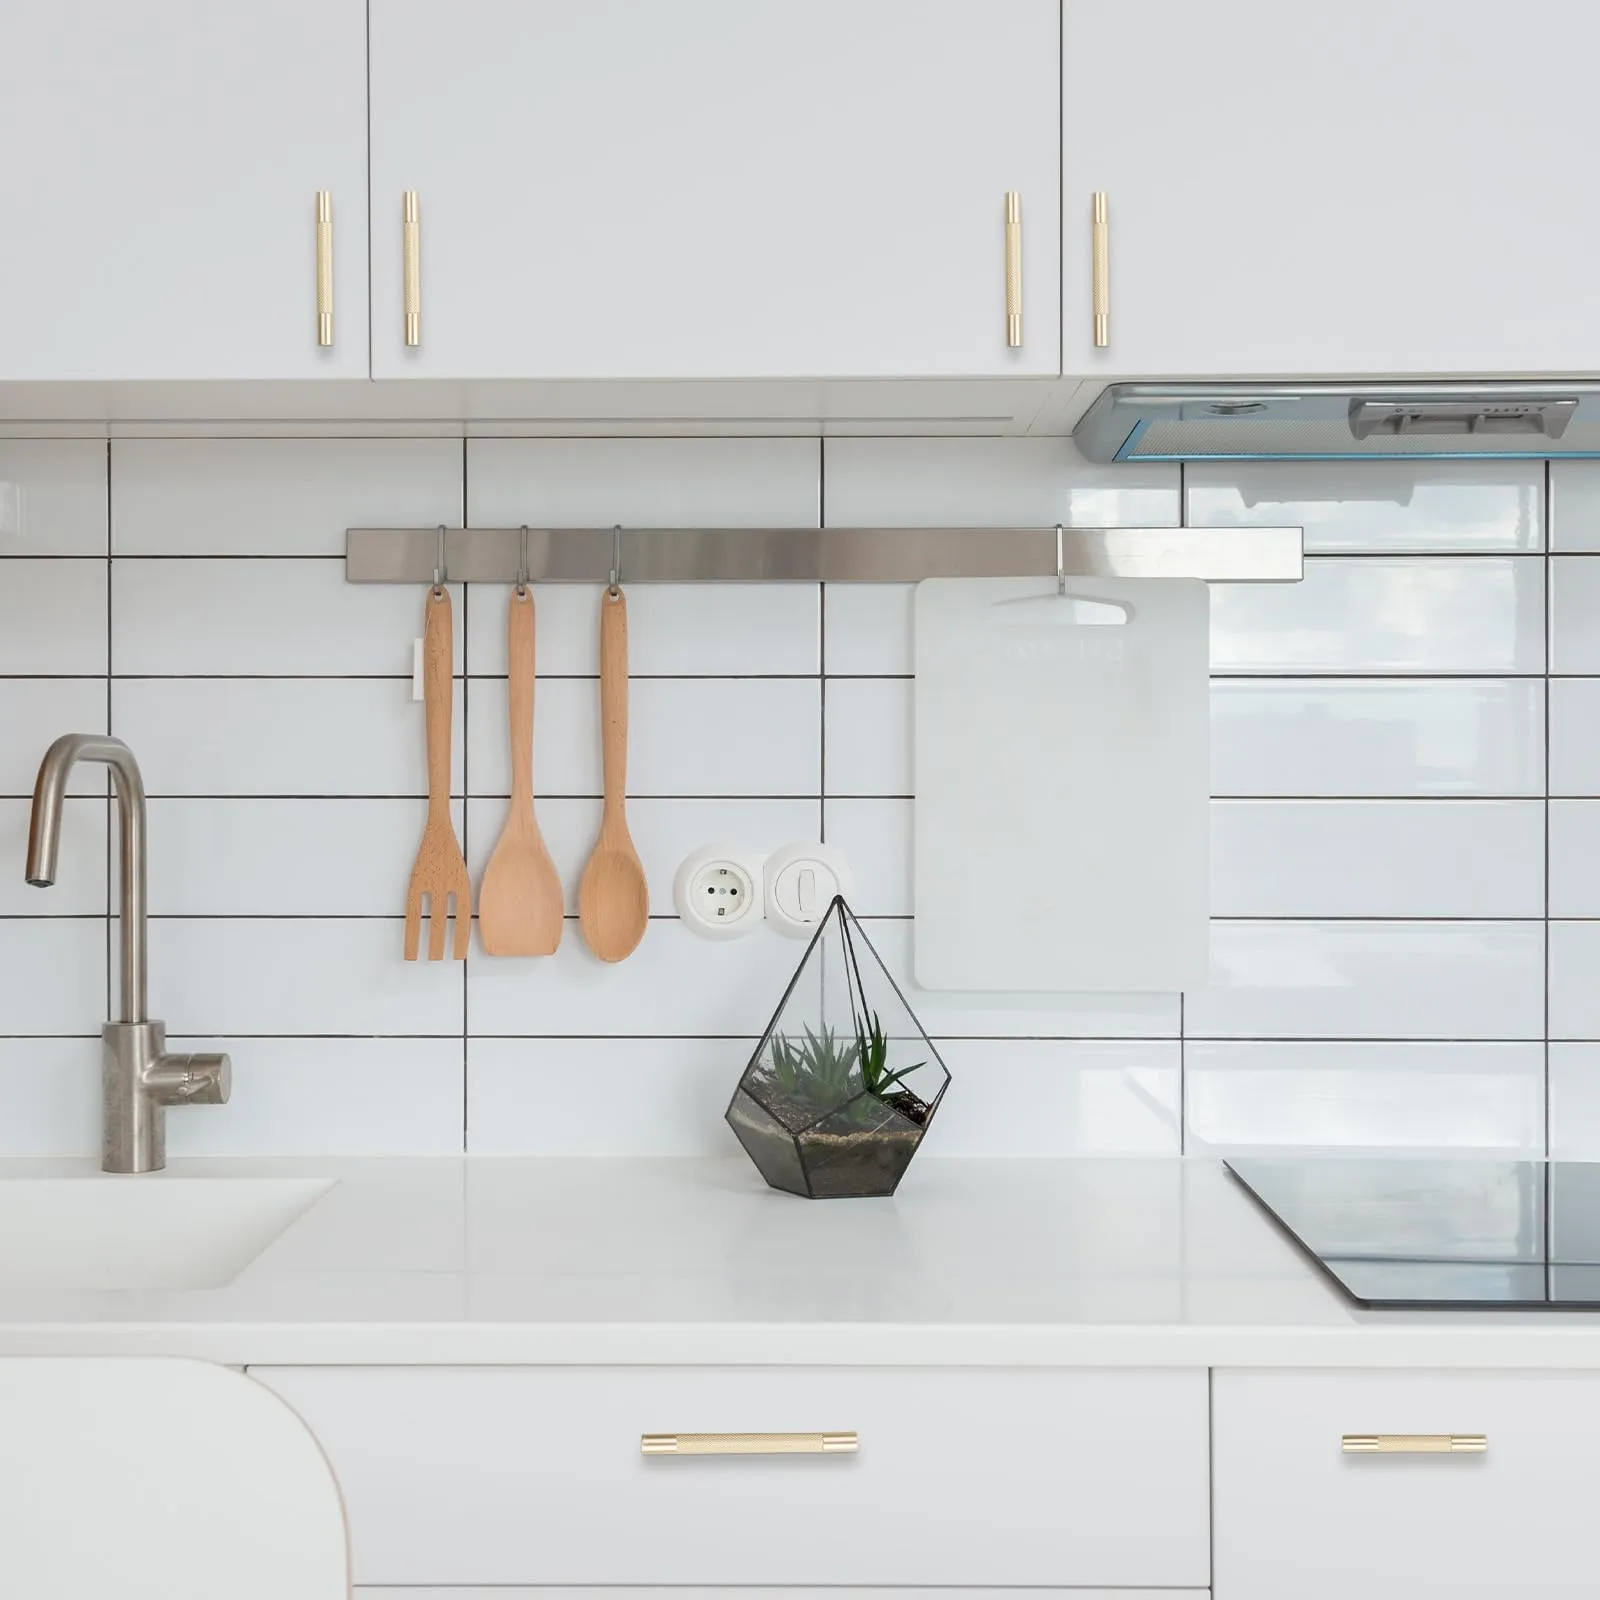
Next, plan the placement. For cabinet doors, handles or knobs should always be mounted opposite the hinges—about one to four inches from the edge. On drawers, pulls are usually centered horizontally, and either centered vertically or placed slightly higher for easier reach. Wide drawers (over 24 inches) look best with two pulls or one large handle that spans about half to two-thirds of the drawer width.
Before drilling, test the layout. Use sticky tack or painter’s tape to hold the handles temporarily, step back, and check the visual balance. This small step helps prevent regret later.
When you’re ready to drill, go slowly. Apply tape over your mark to prevent chipping, support the back of the panel if possible, and use steady pressure. Once drilled, attach the handle screws from the inside and tighten them by hand—over-tightening can crack wood or strip threads.
Finally, inspect your work. Step back and make sure all handles line up perfectly. Consistent placement creates a sense of order and craftsmanship that defines a professional installation.
The process is simple: measure carefully, drill precisely, and take your time. With patience and the right tools, you’ll finish your kitchen with the kind of precision that feels effortless—handles that look as good as they feel every time you open a door.